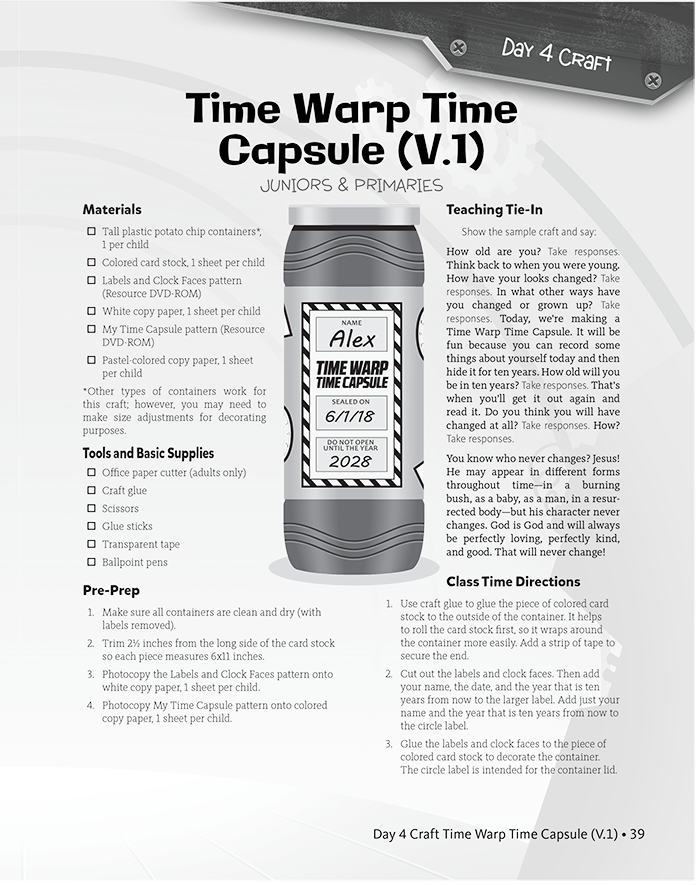
Time Warp Time Capsule
Day Four Craft
on July 23, 2018Option One: Juniors & Primaries
Materials
- Tall plastic potato chip containers*, 1 per child
- Colored card stock, 1 sheet per child
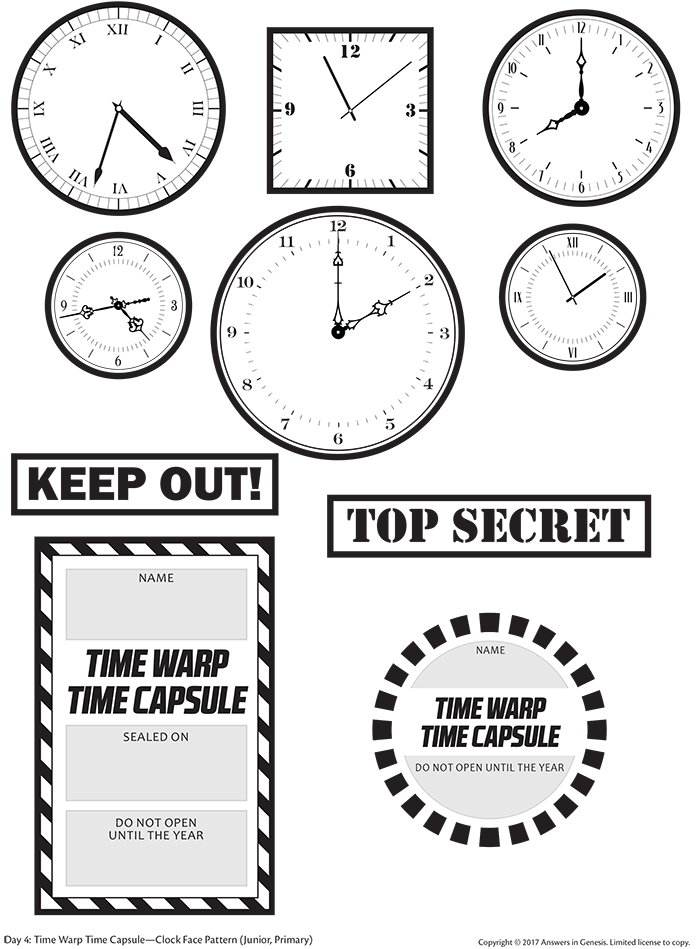
- Labels and Clock Faces pattern (download below)
- White copy paper, 1 sheet per child
- My Time Capsule pattern (download below)
- Pastel-colored copy paper, 1 sheet per child
*Other types of containers work for this craft; however, you may need to make size adjustments for decorating purposes.
Tools and Basic Supplies
- Office paper cutter (adults only)
- Craft glue
- Scissors
- Glue stick
- Transparent tape
- Ballpoint pens
Pre-Prep
- Make sure all containers are clean and dry (with labels removed).
- Trim 2½ inches from the long side of the card stock so each piece measures 6x11 inches.
- Photocopy the Labels and Clock Faces pattern onto white copy paper, 1 sheet per child.
- Photocopy My Time Capsule pattern onto colored copy paper, 1 sheet per child.
Teaching Tie-In
How old are you? Take responses. Think back to when you were young. How have your looks changed? Take responses. In what other ways have you changed or grown up? Take responses. Today, we're making a Time Warp Time Capsule. It will be fun because you can record some things about yourself today and then hide it for 10 years. How old will you be in 10 years? Take responses. That's when you'll get it out again and read it. Do you think you will have changed at all? Take responses. How? Take responses.
You know who never changes? Jesus! He may appear in different forms throughout time—in a burning bush, as a baby, as a man, in a resurrected body—but his character never changes. God is God and will always be perfectly loving, perfectly kind, and good. That will never change!
Class Time Directions
- Use craft glue to attach the piece of colored card stock to the outside of the container. It helps to roll the card stock first, so it wraps around the container more easily. Add a strip of tape to secure the end.
- Cut out the labels and clock faces. Then add your name, the date, and the year that is 10 years from now to the larger label. Add just your name and the year that is 10 years from now to the circle label.
- Glue the labels and clock faces to the piece of colored card stock to decorate the container. The circle label is intended for the container lid.
- Fill out the My Time Capsule sheet, then place it inside your time capsule.
- Other things you might want to add to your time capsule: photos, newspaper clippings, artwork, and a letter to your future self.
- Close it up, hide it in a safe place, and remember to open it in 10 years!
Tip Corner
- Sealing the labels and clock faces with Mod Podge gives the time capsules a more finished appearance.
- If short on time, send the My Time Capsule sheets with the kids to be completed at home. Put them inside the time capsule so they won't get bent.
- When asking for container donations, request that they be washed and have labels removed.
- Cardboard containers are not recommended, nor are plastic peanut butter jars because of peanut allergies.
Option Two: Pre-Primaries & Toddlers
Materials
- Tall plastic potato chip containers*, 1 per child
- White or yellow card stock, 1 sheet per child
- Label pattern (download below)
- Star stickers, 16 per child
- My Time Capsule pattern (download below)
- White copy paper, 1 sheet per child
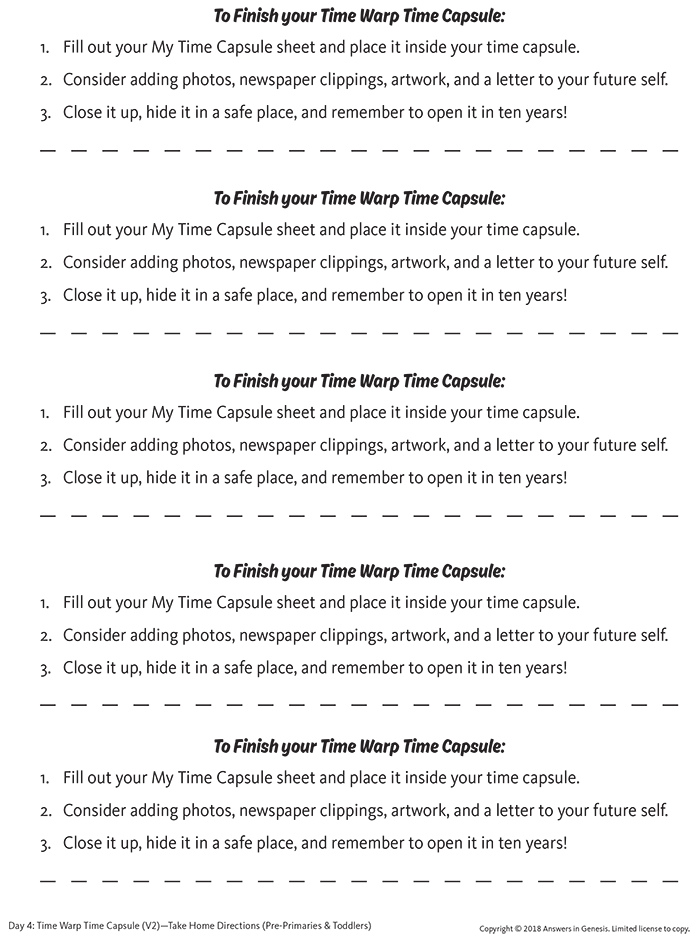
- Take Home Directions pattern (download below)
- Neon copy paper, 1 sheet for every 5 children
Tools and Basic Supplies
- Office paper cutter (adults only)
- Craft glue
- Ballpoint pens
- Colored markers or highlighters
- Transparent tape
Pre-Prep
- Make sure all containers are clean and dry (with labels removed).
- Photocopy the Labels pattern onto white or yellow card stock, 1 sheet per child.
- If you are using tall potato chip containers, trim 1¼ inches from top and bottom (both long sides) of the card stock so it will fit the container. The pieces should measure 6x11 inches. Otherwise, trim the card stock as necessary, to fit the type of container you are using.
- Photocopy My Time Capsule (version two) pattern onto white copy paper, 1 sheet per child.
- Photocopy Take Home Directions pattern onto neon copy paper, then cut out the slips and place one inside each container.
Teaching Tie-In
Today we're making a Time Warp Time Capsule. It will be fun because you can record some things about yourself today and then hide it for 10 years. Do you know how old will you be in 10 years? Take responses. That's when you'll get it out again and read it. Do you think you will have changed at all? Take responses. How? Take responses.
You know who never changes? Jesus! He may appear in different forms throughout time—in a burning bush, as a baby, as a man—but his character never changes. God is God and will always be perfectly loving, perfectly kind, and good. That will never change!
Class Time Directions
- Add your name, the date, and the year that is 10 years from now to the label.
- Use markers or highlighters to color the different sections of the label sheet. The top right and top left sections should be the same color, as should the bottom right and bottom left, because they will overlap when the label is wrapped around the container.
- Place star stickers over the 16 black dots.
- Use craft glue to attach the card stock to the outside of the container. It helps to roll the card stock first, so it wraps around the container easier. Add a strip of tape to secure the end.
- Take your My Time Capsule sheet and color a picture of your choice in the large space at the bottom. Then place it inside your time capsule to finish filling out at home.
Tip Corner
- When asking for container donations, request that they be washed and have labels removed.
- Cardboard containers are not recommended, nor are plastic peanut butter jars because of nut allergies.
 Download PDF
 Download PDF
 Download PDF
Time Lab Inventors’ Science & Crafts (Excerpt)
Get ready to launch into hyperdrive at Time Lab, where we’ll discover Jesus from eternity past to eternity future!
Browse Kids Book- © 2024 Answers in Genesis
- Privacy Policy
- Contact
- About

