Kids Mode
This will turn off kids mode. Are you age 13 or older?
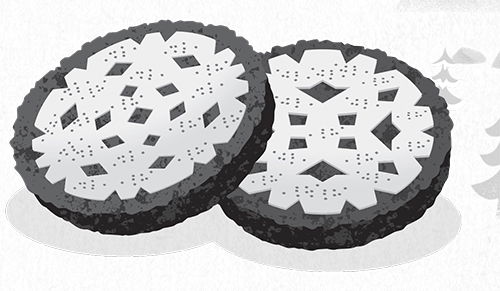
Snowflake Coasters
on November 10, 2017Materials

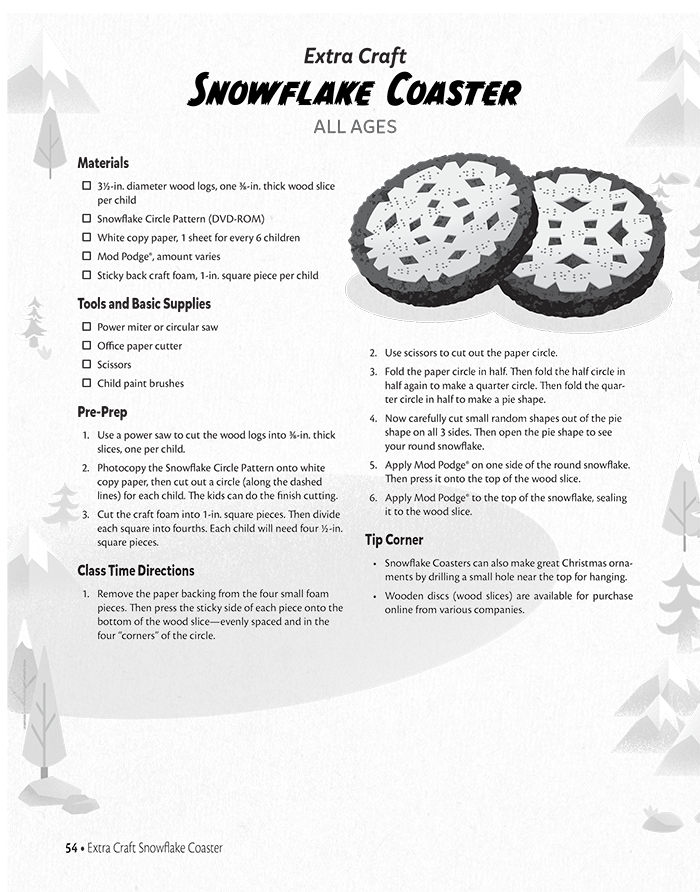
- 3½-in. diameter wood logs, one 3/8-in. thick wood slice per child
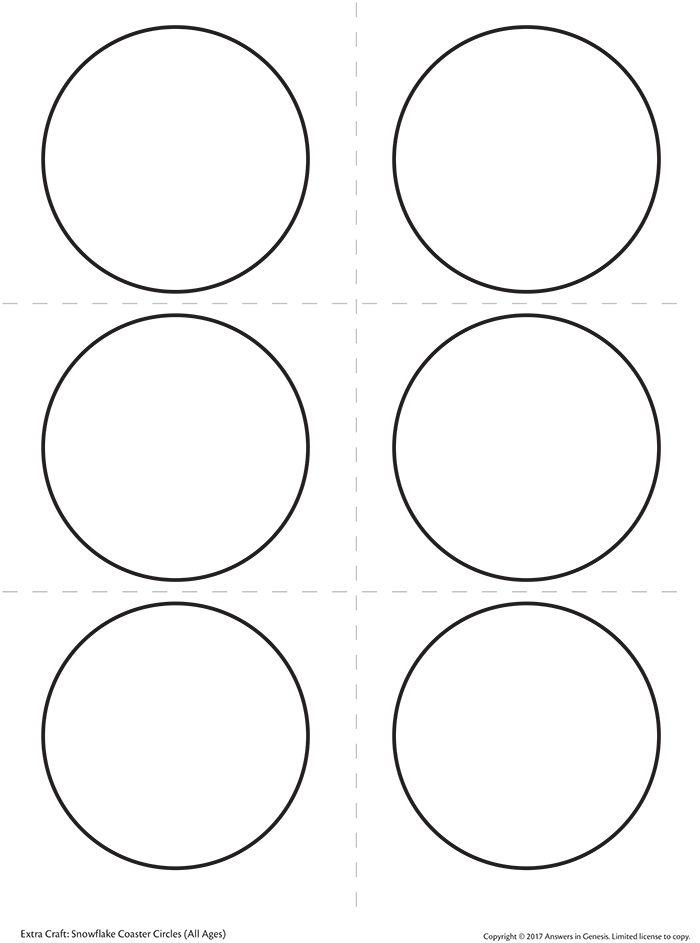
- Snowflake Circle Pattern (DVD-ROM or download below)
- White copy paper, 1 sheet for every 6 children
- Mod Podge®, amount varies
- Sticky back craft foam, 1-in. square piece per child
Tools and Basic Supplies
- Power miter or circular saw
- Office paper cutter
- Scissors
- Child paint brushes
Pre-Prep
- Use a power saw to cut the wood logs into 3/8-in. thick slices, one per child.
- Photocopy the Snowflake Circle Pattern onto white copy paper, then cut out a circle (along the dashed lines) for each child. The kids can do the finish cutting.
- Cut the craft foam into 1-in. square pieces. Then divide each square into fourths. Each child will need four ½-in. square pieces.
Class Time Directions
- Remove the paper backing from the four small foam pieces. Then press the sticky side of each piece onto the bottom of the wood slice—evenly spaced and in the four “corners” of the circle.
- Use scissors to cut out the paper circle.
- Fold the paper circle in half. Then fold the half circle in half again to make a quarter circle. Then fold the quarter circle in half to make a pie shape.
- Now carefully cut small random shapes out of the pie shape on all 3 sides. Then open the pie shape to see your round snowflake.
- Apply Mod Podge® on one side of the round snowflake. Then press it onto the top of the wood slice.
- Apply Mod Podge® to the top of the snowflake, sealing it to the wood slice.
Tip Corner
- Snowflake Coasters can also make great Christmas ornaments by drilling a small hole near the top for hanging.
- Wooden discs (wood slices) are available for purchase online from various companies.
 Download PDF
 Download PDF
- © 2024 Answers in Genesis
- Privacy Policy
- Contact
- About
