Kids Mode
This will turn off kids mode. Are you age 13 or older?
Sand Art
on June 13, 2016Materials
- 4 oz. glass baby food jars, 1 per child
- Play sand, (see below)*
- 5 or 6 colors of dry tempera paint
- Cotton balls, 1 or 2 per child
- 12 oz. soda bottles with lids, 5 or 6 per table (each rotation)*
* You should base your purchase of sand on the number of sand dispensers you want. Fresh dispensers for each rotation are ideal and will ensure that there is enough of each color for every child.

Tools and Basic Supplies
- Craft glue
- Large plastic container with lid
- Teaspoon
- Funnel
- Masking tape
- Power drill and ¼-in. drill bit
Pre-Prep
- Fill a large plastic container with play sand. Then add 3 (or more) heaping teaspoons of one color of dry tempera paint. Secure the lid and shake!
- Then, based on the number of sand dispensers (plastic soda bottles) that you need for each color, use a funnel to fill them to within about 2 inches from the top.
- Repeat this procedure for each color.
- Drill a ¼-in. hole in the lids of the plastic soda bottles.
- Screw the lids onto the dispensers. Then place a piece of masking tape over the holes to keep the sand from spilling out.
Class Time Directions
- Put each child's name on the bottom of the jar before adding any sand.
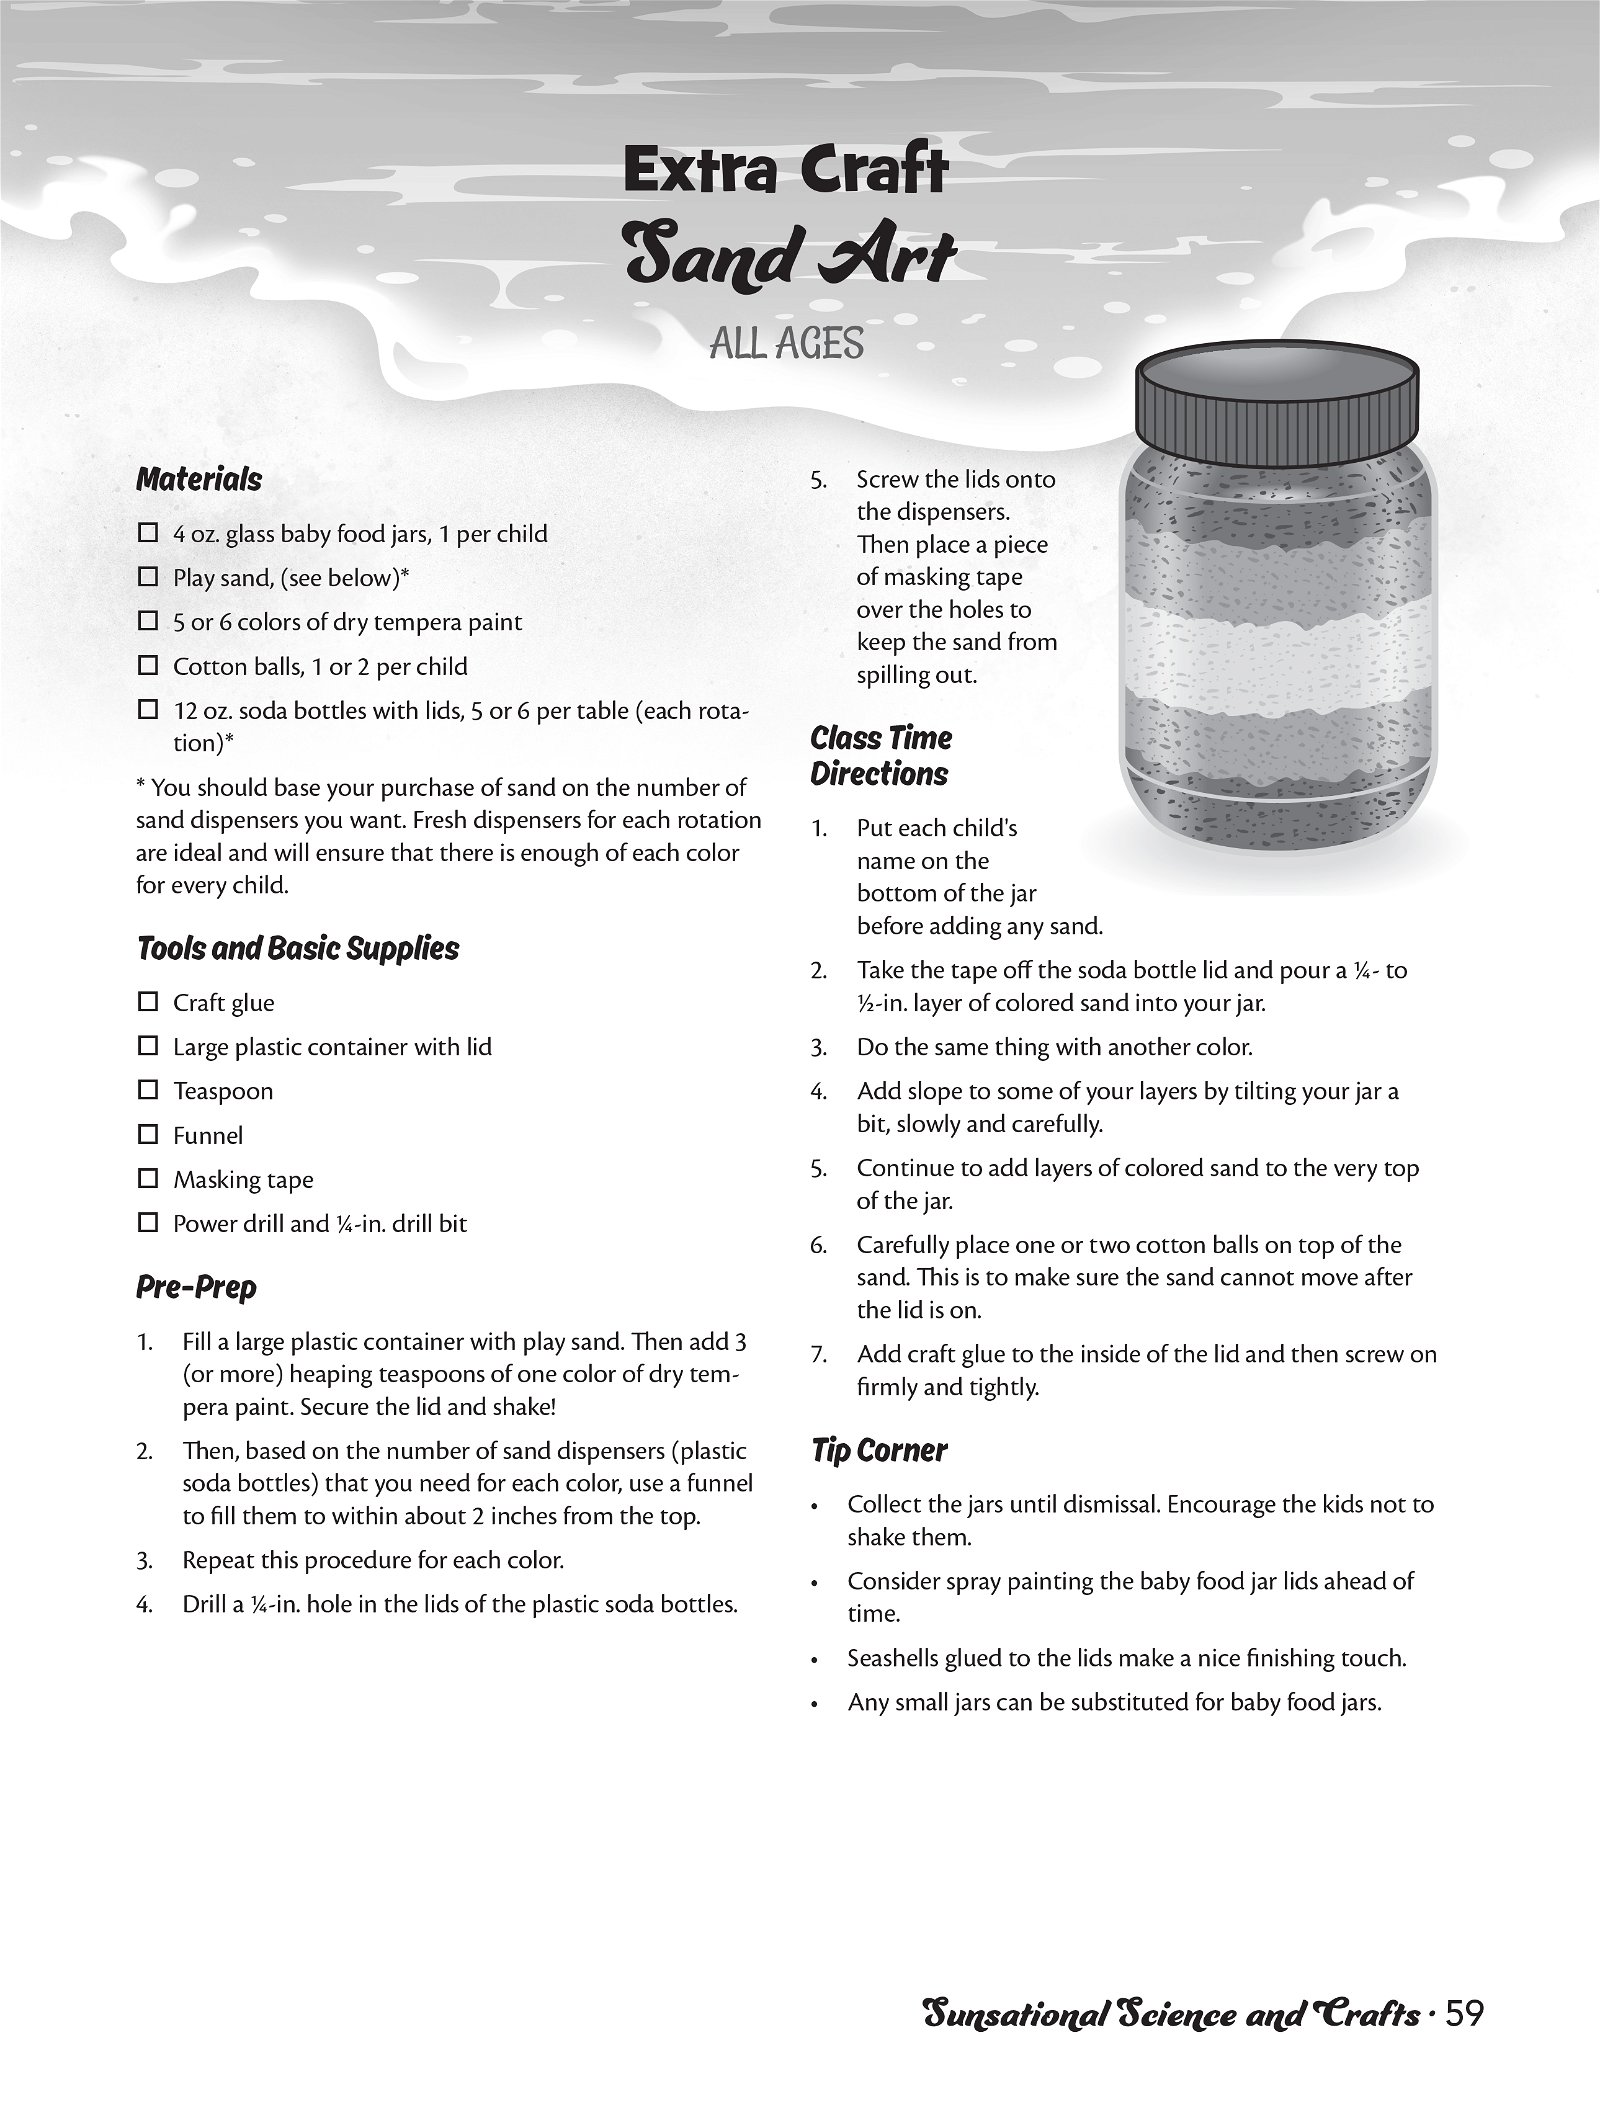
- Take the tape off the soda bottle lid and pour a ¼- to ½-in. layer of colored sand into your jar.
- Do the same thing with another color.
- Add slope to some of your layers by tilting your jar a bit, slowly and carefully.
- Continue to add layers of colored sand to the very top of the jar.
- Carefully place one or two cotton balls on top of the sand. This is to make sure the sand cannot move after the lid is on.
- Add craft glue to the inside of the lid and then screw on firmly and tightly.
Tip Corner
- Collect the jars until dismissal. Encourage the kids not to shake them.
- Consider spray painting the baby food jar lids ahead of time.
- Seashells glued to the lids make a nice finishing touch.
- Any small jars can be substituted for baby food jars.
 Download PDF
- © 2024 Answers in Genesis
- Privacy Policy
- Contact
- About
