Operation Arctic: More Crafts
on December 8, 2017Snowflake Station
Suggested Materials (Amounts Vary)
- White, silver, and blue shades of copy paper
- Coffee filters in various sizes
- Paper towels or dryer sheets
- Sparkly chenille stems and pony beads
- Snowflake stickers or fun foam shapes
- Yarn (for hanging snowflakes)
Tools and Basic Supplies
- Tape
- Scissors
- Staplers
- Glue sticks
- Markers
Pre-Prep
The above materials, tools, and basic supplies are just suggestions. Gather whatever you'd like to include for an open-ended snowflake station where the kids can make different kinds, colors, and sizes of snowflakes. You may want to get online and watch tutorials or read how to make a variety of snowflakes, such as 3D snowflakes, coffee filter snowflakes, traditional snowflakes made from folded and cut copy paper, paper towel or dryer sheet snowflakes, tie dye snowflakes, etc.
Class Time Directions
Kids create their own unique snowflakes with the supplies provided.
Tip Corner
- Use this area as a fun place for the kids to go after they've finished their main craft.
- Display a few samples to fuel their imaginations.
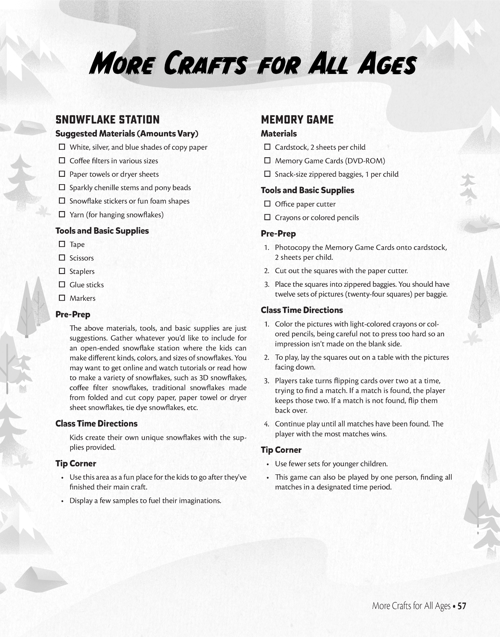
Memory Game
Materials
- Cardstock, 2 sheets per child
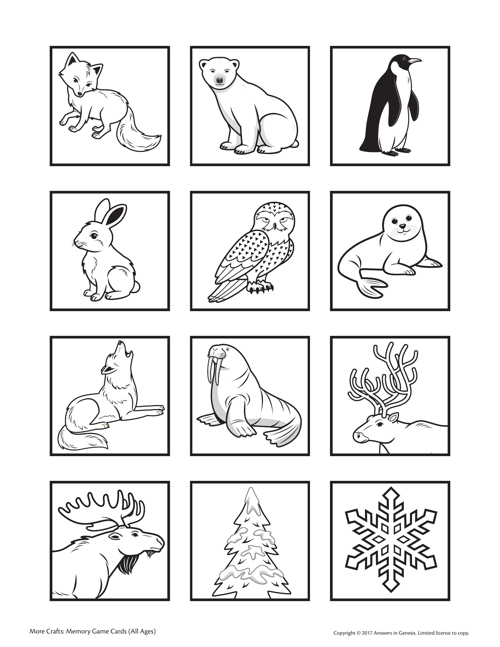
- Memory Game Cards (DVD-ROM or download below)
- Snack-size zippered baggies, 1 per child
Tools and Basic Supplies
- Office paper cutter
- Crayons or colored pencils
Pre-Prep
- Photocopy the Memory Game Cards onto cardstock, 2 sheets per child.
- Cut out the squares with the paper cutter.
- Place the squares into zippered baggies. You should have twelve sets of pictures (twenty-four squares) per baggie.
Class Time Directions
- Color the pictures with light-colored crayons or colored pencils, being careful not to press too hard so an impression isn't made on the blank side.
- To play, lay the squares out on a table with the pictures facing down.
- Players take turns flipping cards over two at a time, trying to find a match. If a match is found, the player keeps those two. If a match is not found, flip them back over.
- Continue play until all matches have been found. The player with the most matches wins.
Tip Corner
- Use fewer sets for younger children.
- This game can also be played by one person, finding all matches in a designated time period.
Memory Verse Posters
Materials
- White cardstock
Tools and Basic Supplies
- Markers
Pre-Prep
- Prepare a reference sheet of the daily memory verses. (See the Resource DVD-ROM for a listing of the daily memory verses, or use 2 Timothy 3:16, Psalm 119:105, Matthew 7:24, Romans 5:8, and Psalm 119:162.)
- Make one or more sample posters, incorporating a memory verse.
Class Time Directions
Kids design and color their own posters. The more creative, the better!
Tip Corner
- Place these in a prominent location during the week for all to enjoy. Send them home on the last day of VBS or after the closing program.
- Use these posters to reinforce the memory verse of the day.
Step-By-Step Drawings
Materials
- Step-by-Step Drawings (DVD-ROM or download below)
- White copy paper
Tools and Basic Supplies
- Markers, crayons, or colored pencils
Pre-Prep
Photocopy the Step-by-Step Drawings onto white copy paper.
Class Time Directions
When the kids have extra time, they can work on the Step-by-Step Drawings.
Tip Corner
- The finished drawings can be cut out and added to the Wall Mural.
Wall Mural
Materials
- Blue roll paper
- White copy paper
- Optional: A variety of clip art images
Tools and Basic Supplies
- Markers, scissors, glue sticks
Pre-Prep
- Hang a large piece of roll paper on an empty wall.
- Photocopy a variety of clip art images and place at this station.
Class Time Directions
- On a piece of white copy paper, use your imagination or the clip art images on display to draw and color an image that coincides with the Arctic theme.
- Cut out the artwork and glue to the roll paper.
Tip Corner
- Hang the completed mural in a prominent location on the last day of VBS or during the closing program so all can see.
 Download PDF
 Download PDF
- © 2024 Answers in Genesis
- Privacy Policy
- Contact
- About
