Hebrew Headdress
on July 24, 2018Materials
- Fabric, one 24x19-inch* piece per child
- Thick yarn, 120 inches* per child
*Suggested amounts
Tools and Basic Supplies
- Pinking shears
- Scissors
- Masking tape
Pre-Prep
- Cut the fabric into 24x19–inch pieces, 1 per child. Use pinking shears to keep the edges from unraveling.
- Cut the fabric into 24x19–inch pieces, 1 per child. Use pinking shears to keep the edges from unraveling.
- Place three strands of yarn parallel, with the ends even. Then tie one side together with a single overhand knot, leaving the other side loose.
- Repeat step 3 with the rest of the yarn so that each child will have a set of three strands.
Class Time Directions
- Take the knotted end of your three strands and tape it down to the top of the table.
- Take one strand and put it over to the left, then take the other two and put them over to the right. Remember that you always choose the top strand from the side with two strands.
- Now to start your braid, take the top strand from the right side (the side with two strands) and move it over to the left side. Then take the new top strand and move it over to the right side.
- Continue in this manner, braiding the whole way down in a somewhat loose fashion, until you get to the bottom. Then tie it off with a single overhand knot and cut away any excess yarn. Now you have a braided cord that will hold your headpiece in place.
- Give everyone a headpiece, then tie the braided cords around their heads to keep the headpieces on.
Tip Corner
- We typically think of subdued colors for Bible time clothing, but royalty in particular often wore bright colors, so most colors and patterns will work.
- Old pillowcases can yield enough material for at least two headpieces.
- Use three different colors of yarn to make it even more fun.
- Check online for three-strand braiding tutorials.
 Download PDF
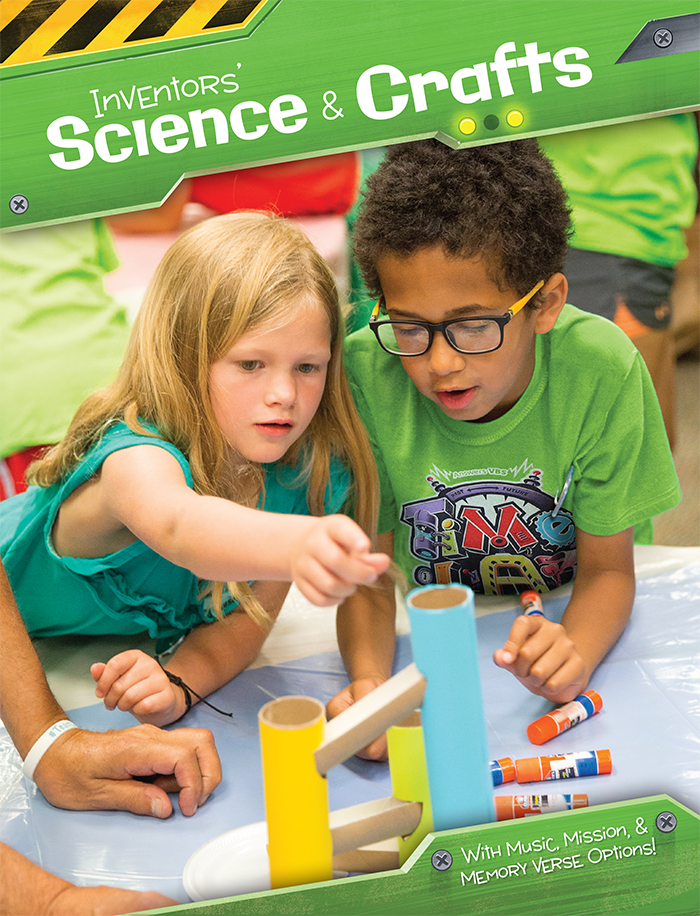
Time Lab Inventors’ Science & Crafts (Excerpt)
Get ready to launch into hyperdrive at Time Lab, where we’ll discover Jesus from eternity past to eternity future!
Browse Kids Book- © 2025 Answers in Genesis
- Privacy Policy
- Contact
- About

